|
Getting your Trinity Audio player ready...
|
Hello everyone, it’s been months since I published anything on my website… I have been kinda busy working with Biplab at Hyperce as an Associate CTO. Btw it’s a e-commerce development company. We help businesses around the world with e-commerce development and all the solutions related to it.
Today I will show you how to accept Khalti payment for your Shopify store. We will be sending payment link to customers who place order in our Shopify store via SMS. For this, you must have a Khalti merchant account. If you don’t have one, contact Khalti to get one.
It’s not a easy method, as there is no app made by Khalti officially for Shopify. Its bit long process, actually it’s not that big too. I will provide you with everything right here. So let’s get started…
For this method to work we will be using a third party tool called Pabbly Connect, which to connect other platform with another… I personally use it for every business I own.
To test this, place a demo order here – nepalimind.myshopify.com
For this first we need to have a Shopify store. If you are reading this article then you already have Shopify store…
- Go to your Shopify store’s settings & Click on Payments.
- Now scroll down to Manual payment methods, and click on Create custom payment method & type Khalti and activate it.

- Now click on this link and make a Pabbly Connect account
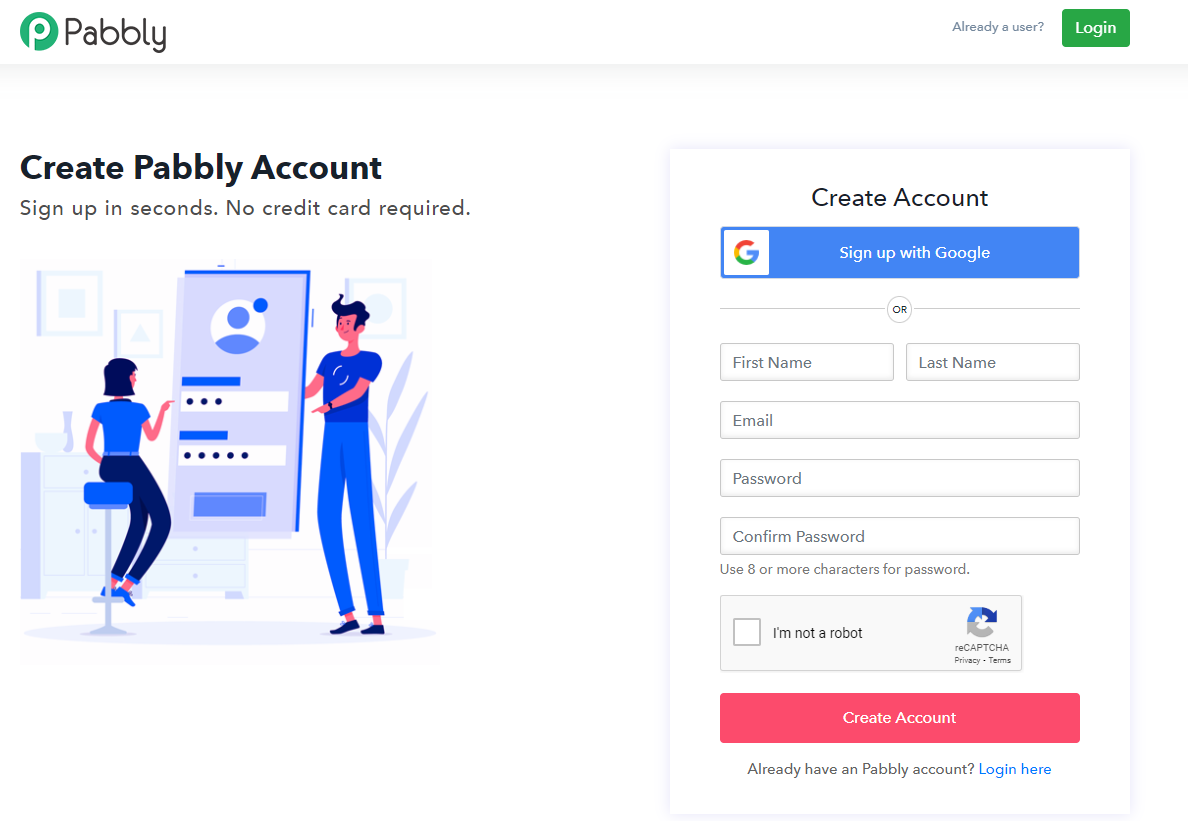
- Once you have signed-up for Pabbly Connect, you need to install 2 custom app for Pabbly Connect which I have created. One is for Payment & other is for sending SMS. Click on below links to get those apps.
Khalti Payment Gateway – Accept This App
SMS by Bedbyas Technology Solution – Accept This App
- Once you have install both the custom apps on your Pabbly Connect account. Now it’s time to create the workflow… Don’t worry here is the link to the workflow. Just click on below link and then click “Try it Now“.
Get the workflow – Click Here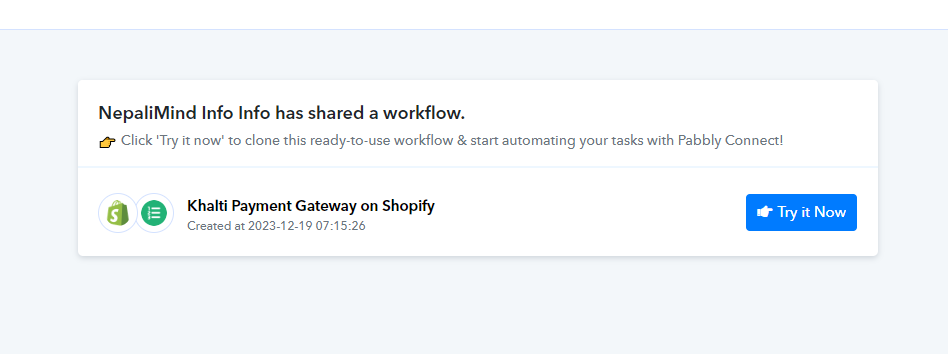
- Once you have accepted it, now it’s time to go to the workflow and make few changes. I will tell the more steps in another list to make this one look smaller.
Now let’s make some changes to the workflow you just accepted
- Once you have accepted the workflow, now open it.
- The first step is to add the Webhook URL to your Shopify store. For this go to Settings of your Shopify store, and then go to Notification (5th from last). Now scroll to the bottom and you will see “Webhooks“. Create a new webhook and on Event choose “Order creation”, now on URL past the URL from the pabbly connect.
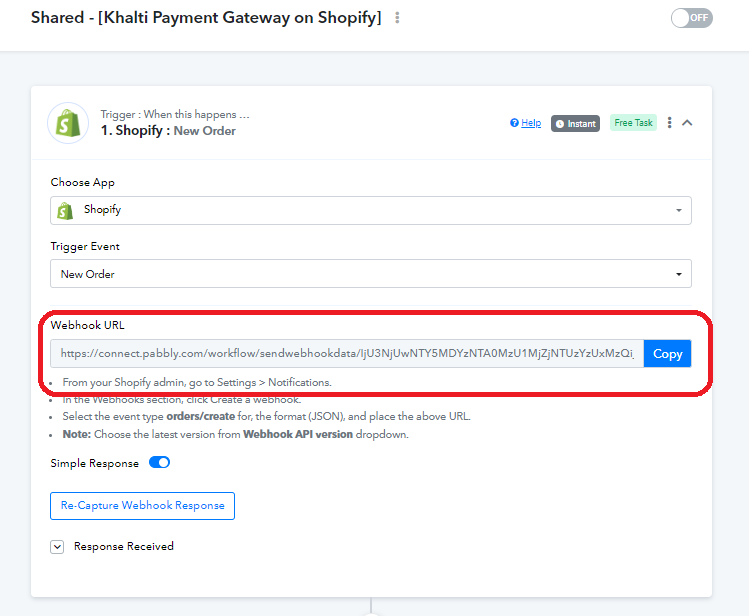
Add above Webhook URL to below which you can find at the bottom of Notifications tab of your Shopify store…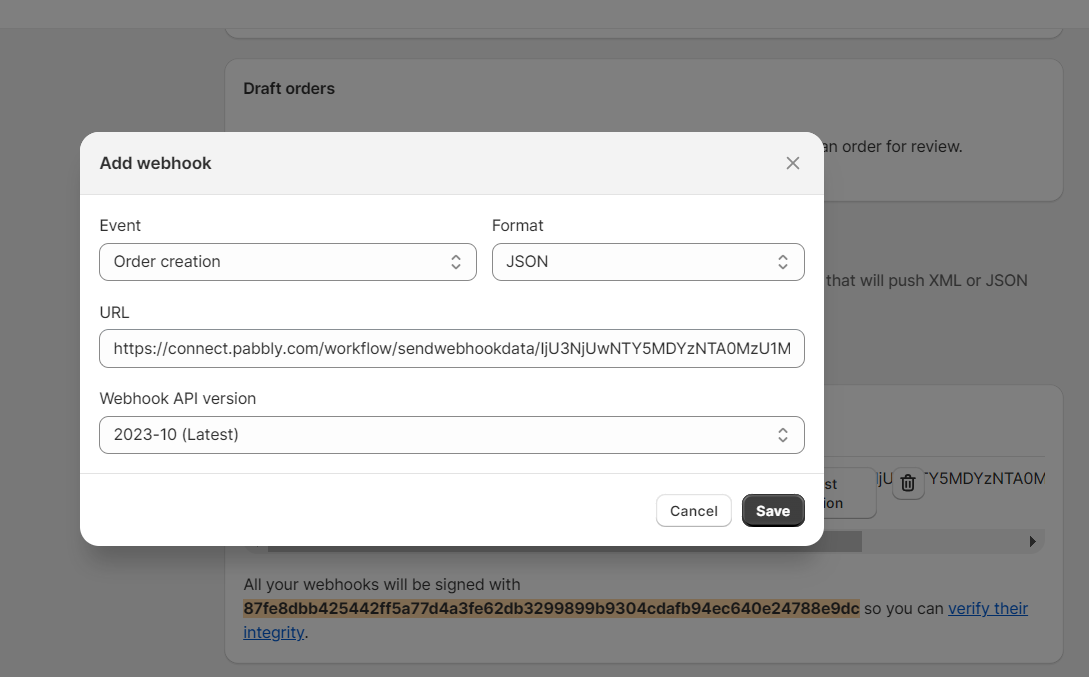
- Once you have done above step, try making a order and see if you get any response like below. If it’s working you will get this type of response :

- Now once you are done with this, lets move to second step in the workflow which is Action “Number Formatter“. We need to do this cause, Khalti accept payment request in paisa and we have the number in Rupee. So we need to multiply it by 100. I have already done it when sharing the workflow, so you don’t have to do anything here.
- Now let’s move to the 3rd step which is making the payment link for the payment. We need to add our Khalti merchant credentials here. For this visit Khalti merchant account and get the live secret key (test secret key won’t work remember this) I got tired while making that integration, so didn’t made it…
Once you have the live secret key, click on “Connected”, button to add the key. After clicking on it, you will see two fields, on key field type “Authorization“, and on value field type “key live_secret_key“, remember, to add the work key and a space and then your live secret key, else it won’t work.
Once you are done, save it.
- Scroll down and make sure to change your Website URL from the field.

- Click on “Save & Send Test Request”, to see if it’s working or not. If you get a request like below, then it’s working.
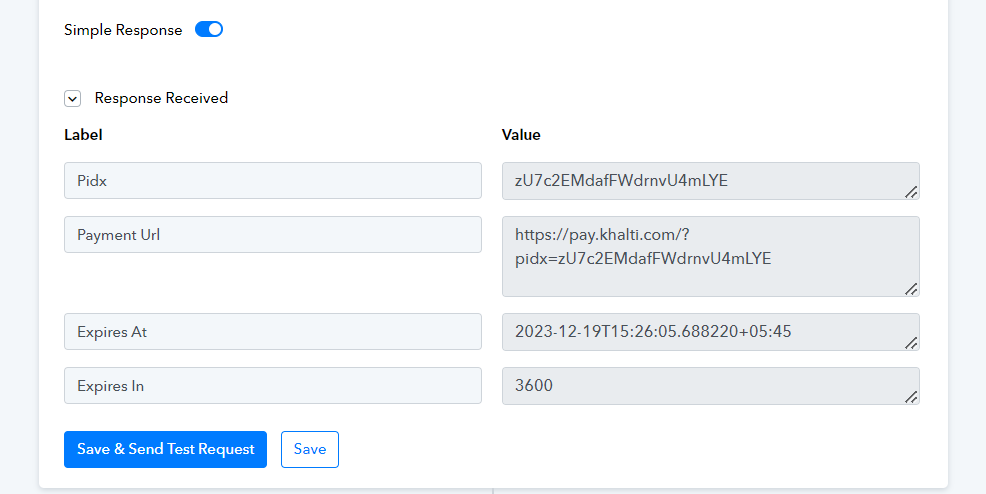
- Now it’s time to configure the SMS part. By the way you can also use Gmail to send the link via email if you don’t want to send SMS, but sending email is better for conversion.
- Remember, we installed a customer SMS app too. We will use that here… To get the API for the SMS, contact Bedbyas Dang. He will provide you with the dashboard and everything at cheapest…
- Now on this step also, click on Connected to add the SMS API. Once you have added the SMS API and saved it, just try to send a test request. If you get a response like below, then it’s working…
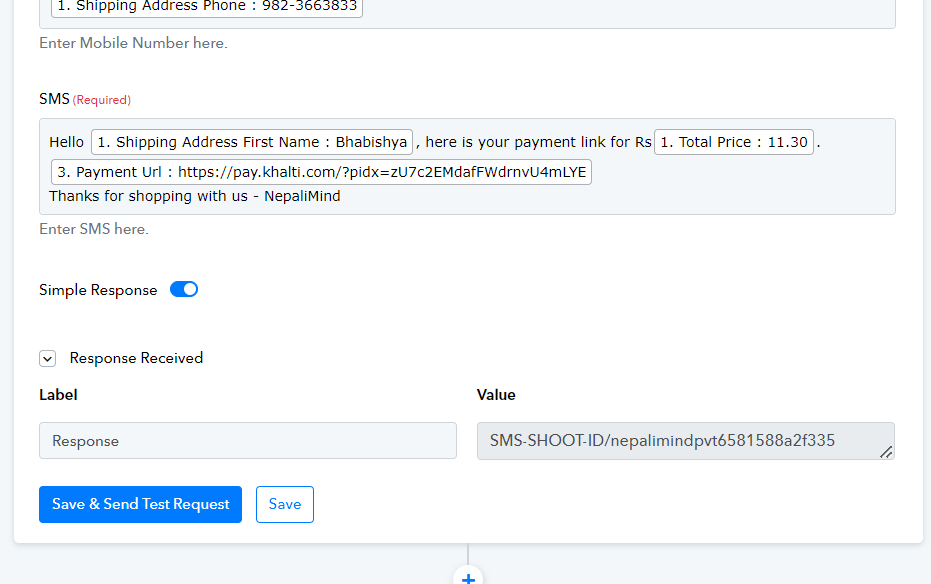
- Now finally, check your SMS and see if you got the SMS or not…
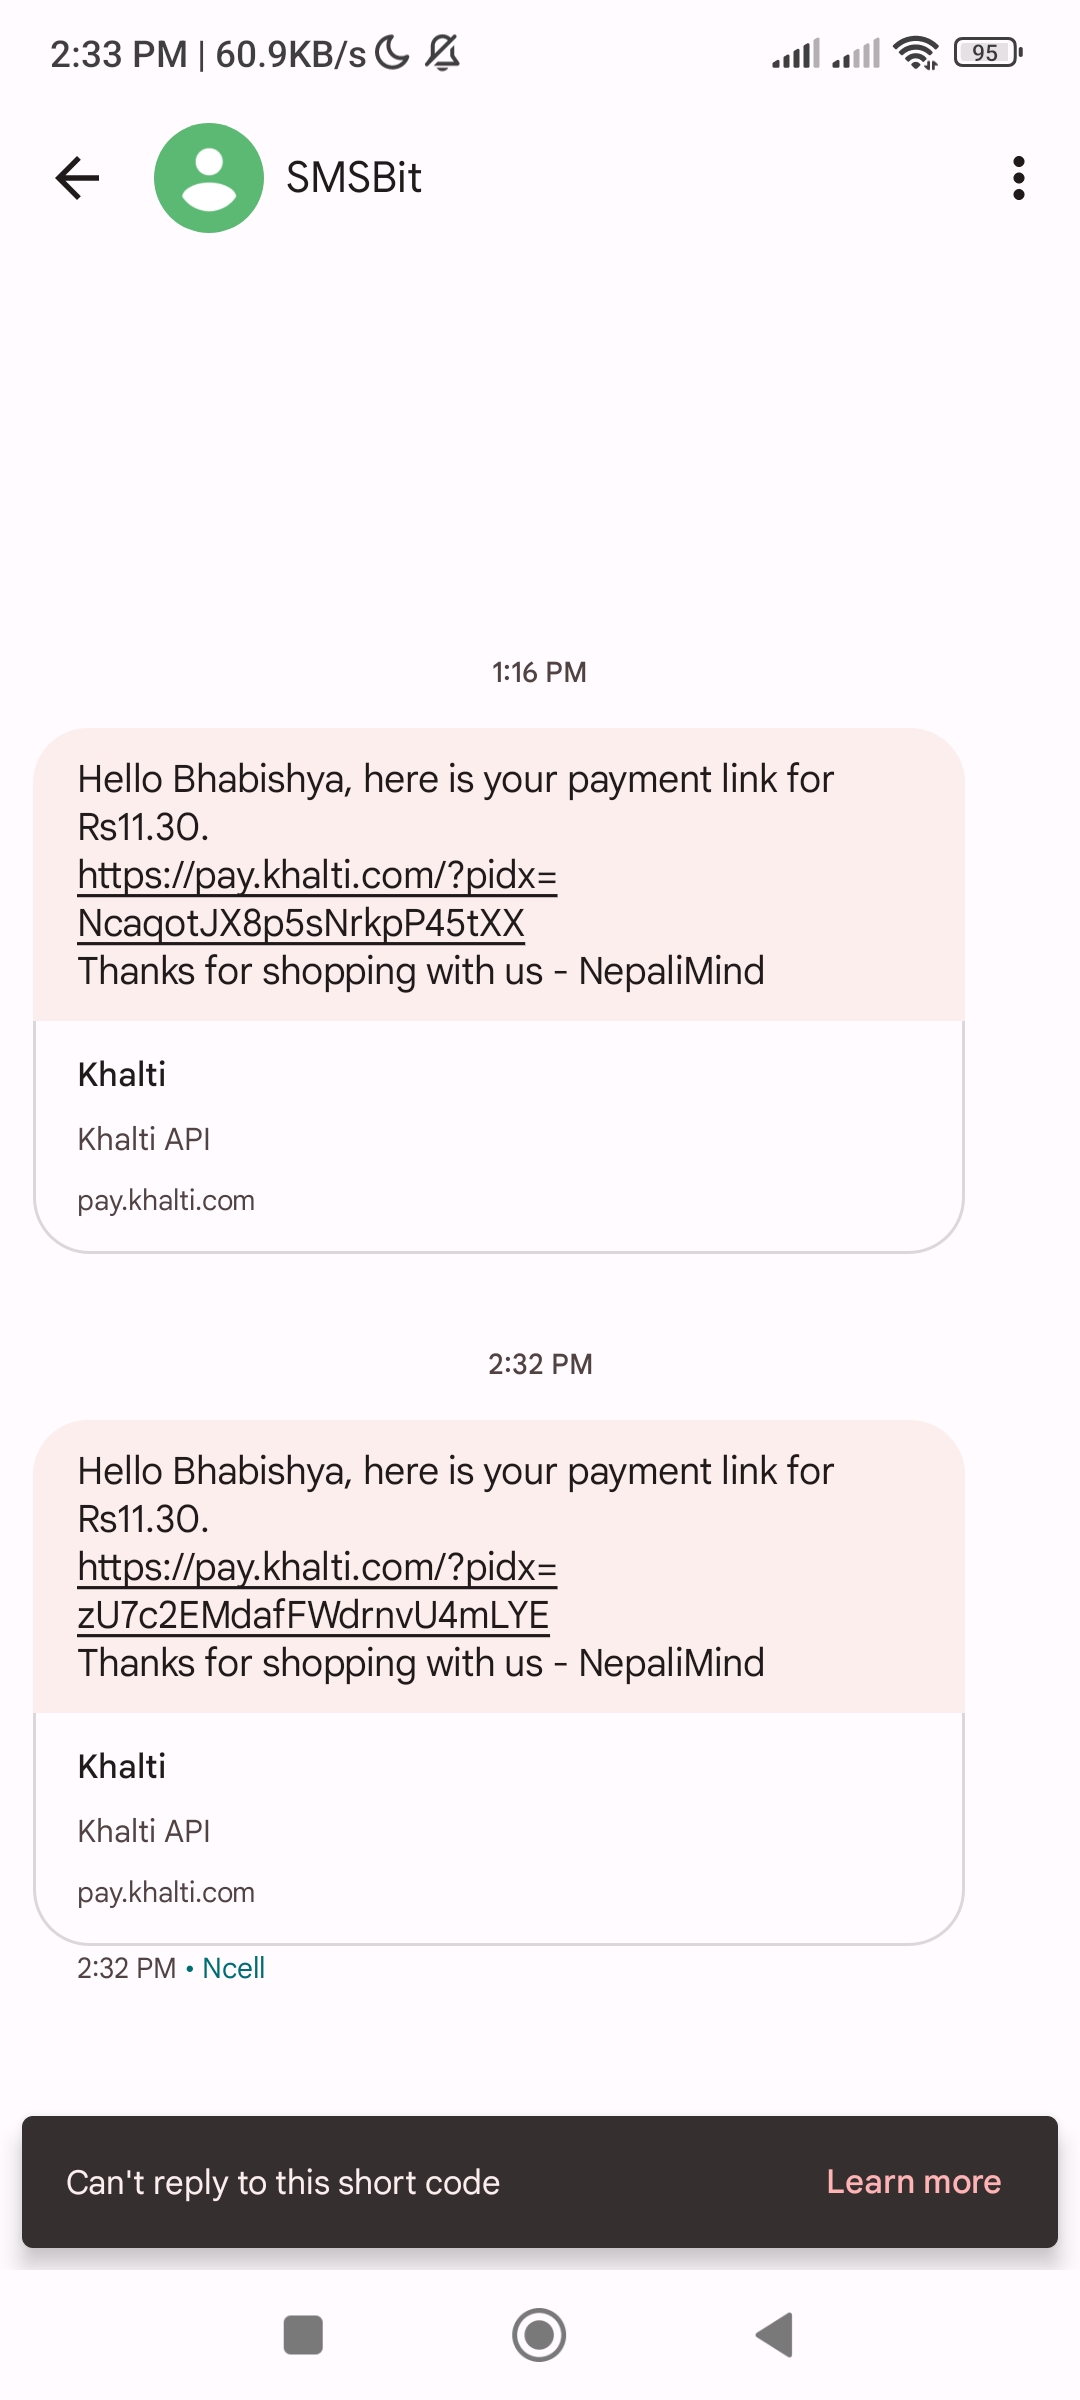
Working? Then that’s great, if you are getting any problem. Contact me on FB, I will help you out… By the way, its a jugaad method, until Khalti, or I or someone else builds something…
Leave a Comment